Chocolate Caramel Confectionary
- Christean N.

- Feb 20, 2021
- 5 min read
Updated: May 6, 2021
To those sweet tooth fairies out there, I am going to share with you one my most favourite chewy caramel recipe. I often get chocolate caramel that separates and burn during cooking and after much trial and error I finally stumbled upon a method that works! This recipe can be adjusted according to the hardness and chewiness that you prefer. The tips to making this recipe is to go for the best quality coverture chocolate and sea salt flakes! I almost always have Madagascar chocolate in my chocolate pantry so it is no brainer that that is what I always go for when making sweets. If you are unable to find the required chocolate from the recipe, you can simply use any type of chocolate with lower or similar cacao solid content and they will work the same!
Common mistake when making the caramel
Using a pot that is not clean.
In my kitchen, I often have two separate set of pot that is used for cooking and a special one that are only ever used for candy making. Unless you scrub and clean the pot every time and is sure that they are spotless, any residue or impurities from previous cooking can cause the sugar to crystalize. Crystallization gives the candy a sandy texture and is unappealing to the palate. It will almost feel like eating ground up sugar granules and is brittle when you try to tear the candy apart.
Ensuring that you brush the side of the pot with a brush that has been dipped in clean water if there are any bits of sugar that may have bounced to the side of the pot during boiling will also help to prevent crystallization. One granule of sugar left undissolved during boiling can act as an anchor of magnet that attracts other sugar molecules to join up and become a lump of sugar again, therefore it is crucial that at the early stage of boiling the sugar syrup that you do not allow any specs of undissolved sugar to be present.
Stirring too vigorously during cooking
Table sugar comprise of glucose and fructose molecules, when treated with heat, separates and turn into a liquid stage. This process is called inversion. During the inverted stage, if vigorous mixing are performed, it agitates the sugar molecules and causes them to find each other again, clinging on to each other for their dear life and ultimately recrystallizes in to solid form. Therefore, when making sugar candy like chewy caramel where you want to maintain a smooth texture, it is important that you stop stirring the sugar syrup once it starts to boil.
If you are making dry caramel where there are no presence of water or other type of liquid, stir the sugar gently over the heat only occasionally to help them dissolve evenly. If there is a large amount of sugar that do not fit into your pot all at once, gently melt the sugar over the heat in graduation by adding the sugar in separate additions when the first additions are fully melted. Often when making dry caramel, sugar will start to brown from the side if you are using gas stove. Using a clean heat proof spatula, gently pull the browned sugar from the side inwards to distribute the heat for even caramelizing making sure that you do not over agitate the sugar crystals.
Not using the correct thermometer
Often times, the biggest culprit of a failed caramel is not investing in a good thermometer. One of my favorite thermometer to use is the alarm functioned Hygiplas thermometer that has a long standing probe which allows me to hold it over the boiling hot syrup without compromising my dear hand. Hygiplas is also a considerably fast reading thermometer which means that it does not take long to register the accurate temperature before it is too late.
Another thermometer that I would recommend using is the long probe instant read thermometer or standard sugar thermometer although I find the traditional sugar thermometer messy often times.
Adding something cold to a reduced sugar syrup
In this recipe, you are required to make a ganache base ready to be added in to your sugar syrup once it comes to the correct temperature. It is crucial that you have the ganache ready close to the time you will be cooking the sugar syrup and keep the ganache hot before adding it to the hot syrup. Adding the ganache cold in to the hot sugar syrup will cause a process called "temperature shock" where the sugar seizes from the sudden change of temperature and result in the mix separating and crystalize.


RECIPE
Makes : 40 x large caramel or 60 x small caramel
Chocolate Caramel
150 g Heavy Cream 35% Fat
120 g Madagascar Coverture Dark Chocolate 67% Cacao solids
60 g Water
80g Glucose
260 g Caster Sugar
30 g Unsalted Butter
Qs. Pink Sea Salt Flakes
Greased paper for wrapping
Method:
Before starting, prepare a 18 cm x 18 cm baking tin by lightly spraying with some oil and line it with parchment paper on the base and the side.
1. Place the cream and cinnamon powder over the saucepan and bring to a mere simmer. Add the butter until they are fully melted and well mixed in the cream. Pour the cream mix over the chocolate and stir until they are well combined to make a smooth ganache. Set the ganache aside ready to use later on.
Note: Do not let the ganache cool down too much by making them too early in advance. Keep maintaining the ganache at 50°C or above.
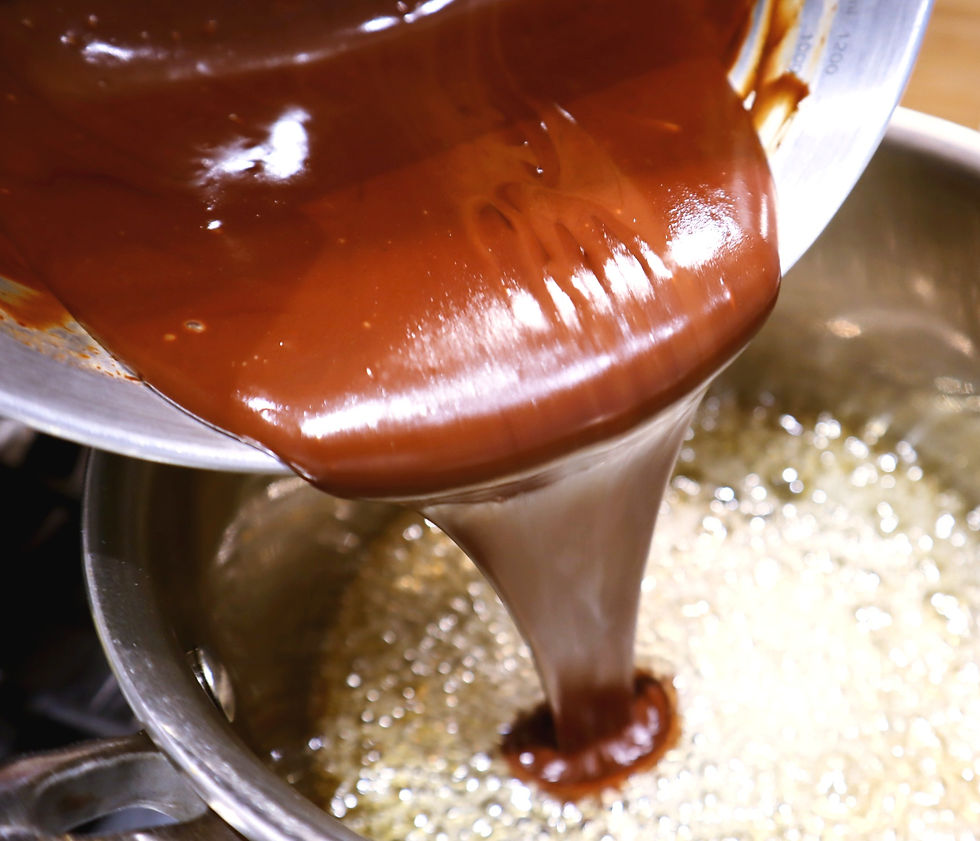
2. Place the sugar and glucose over a copper pot or a larger saucepan and bring it to boil over medium heat until it reaches 155°C. Turn off the heat then add the ganache mix to the sugar mix.
3. Bring the pot back to the stove over medium heat and continue to cook while gently stirring and scraping the bottom to avoid catching and burning until the caramel reaches 125 - 127°C.
4. Once the caramel have reached 125 -127°C. Turn off the heat and immediately add in the butter and whisk until they are fully dissolved and mixed through. Do not whisk too vigorously as this will agitate the sugar too much and cause crystallization and the caramel will turn out gritty.
Note: At 125°C, caramel will be on the softer side and at 127°C it will be harder and chewier. You can adjust the caramel according to your preference. I prefer mine to be at the 127°C mark. Make sure that you have you prepared tin that you will be pouring your caramel in ready as the longer you leave the caramel in the pot, the more it will keep cooking. The best way to reach the accurate temperature that you preferred is by turning off the heat 1 degrees before. This will allow you time to slowly cook to temperature without going over.
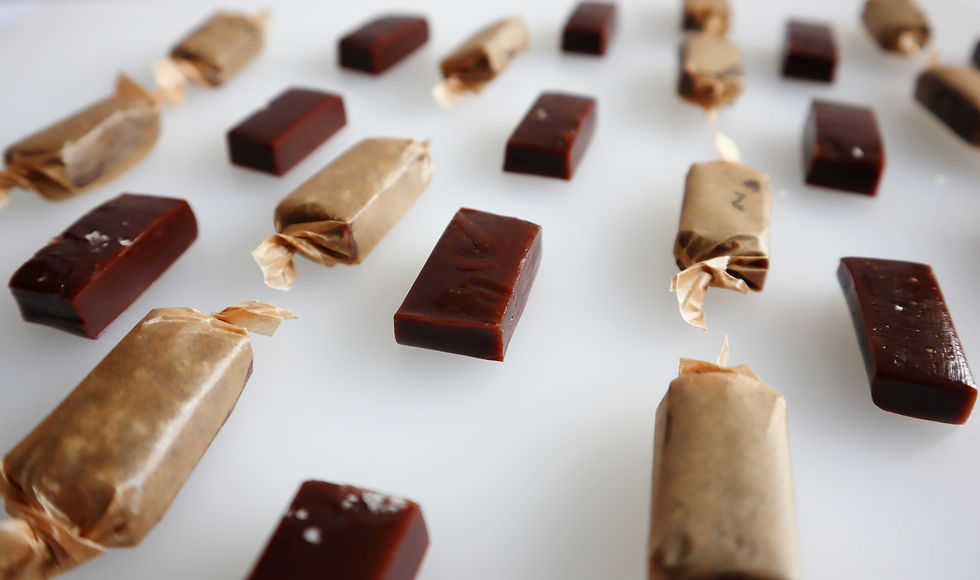
5. Pour the caramel over prepared tin, level then sprinkle with pink sea salt flakes and let the caramel sit at room temperature for at least 2 hours before cutting.
6. When the caramel have set, cut in to individual sizes and wrap in greased paper immediately.
Tips
When cutting caramel, do a gentle sawing motion with the knife from the top slowly cutting through the center. This will ensure that the knife do not get sticky and make it hard to cut through. If you want, you can lightly spray the knife with some oil.
Shelf Life
It is recommended to consume the finished caramel within 5 days for best quality. Wrap the caramel immediately in greased paper after cutting and store in an airtight jar.


The caramel in the video below is cooked to 125°C with a softer texture.


Comments