Fruity Pavlova Roulade
- Christean N.

- Jan 4, 2021
- 7 min read
Updated: Aug 5, 2021


"You are not a true Aussie if you haven't experience the pleasure of appreciating Pavlova", says my husband. I figured Aussie or not, Pavlova should be everyone's all time favourite and its really simple to make!
What is a Pavlova?
Pavlova is an Australian dessert that is made up of egg whites, sugar, acid and corn-starch. It is similar to a meringue but the difference is the outer layer is crunchy with a spongy and fluffy centre.
A typical meringue will contain only purely sugar and egg whites with a ratio of 1 part egg whites to 2 parts fine granulated sugar. As the meringue bakes in the low heat oven, the hygroscopic nature of sugar will draw the water out from the egg whites and as it bakes longer, that is when the meringue starts to dry out and become crispy.
Pavlova on the other hand obtains its soft centre by the addition of corn flour. Corn flour function to hold on to some of the water that the sugar draws out from the egg whites, therefore as the pavlova bakes, the outer later will start to crisp but the centre will stay soft with a texture quite similar to a marshmallow.
How do you serve pavlova?
Pavlova are often baked as a large dollop with a shallow centre to hold the fillings. Because the dessert itself is predominantly made up of sugar, they are usually served with cream and fruits. You can even serve them with curd and chocolate.
Stabilizer and Acid
To make a light, fluffy and shiny meringue that do not split during whisking, use a stabilizer that is easily available in most kitchen pantry. One of the most common egg white stabilizer are cream of tartar, lemon juice and vinegar.
Cream of tartar or other acids stabilizes meringue by lowering the pH level of the egg whites. Lowered pH egg whites may take slightly longer to whip compared to egg whites that do not contain any stabilizing acids, but the slow whipping time assist in preventing the meringue from being overwhipped and splitting too quickly and easily. Acid also helps prevent the air pockets in the meringue from collapsing during baking.
The amount of cream of tartar required in a meringue is as little as 1/8 teaspoon every egg white and egg whites from an egg usually sits around 30 - 35 g in weigh. Adding too much acid in to your meringue can leave a sourly taste so it is not necessary to go to town with them.
Note that you if you are using liquid acid such as vinegar or lemon juice, fold them in once you have achieved a stiff peak in your meringue. If you are using cream of tartar, you can add them straight into the egg whites during whisking.
Stiff Peaks for Meringue
When whisking the egg whites, after you have added all of the sugar, you want to continue whisking until you have achieved a stiff peak. To check if your meringue is ready, dip the whisk into the meringue and lift it up. The tip of your whisk should have a peak from the meringue and does not fold over.
How do I know if I have over whisked my egg whites?
You will know that you have over whisked your egg whites if it passes the stiff peak and starts to separate into clumps. In sever cases, water will start to separate from the egg white clumps.
What happens if I under whisked my egg whites and bake the pavlova anyway?
Under whisked egg whites runs the risk of the egg foams in the meringue not having enough time to stabilize and if you are making a domed pavlova and not a roulade, it is unlikely to hold its shape and may collapse during baking.
Can I fix over whisked egg whites?
If your meringue is not severely over whisked, you can actually fix it by adding in fresh egg whites in to the meringue and gently whisk until they are no longer separated. In most cases, it is best that you start the meringue from the fresh batch of recipe for the insurance of a stable meringue.
Ensure that you gradually sprinkle in the sugar while making the meringue
If you have made other types of meringue before, it is almost like a rule 101 that you never dump the whole lot of sugar into a whisking egg whites. One of the tips to a successful meringue is to whisk the egg whites until they are light and airy with no signs of watery egg whites left before gradually sprinkling in the sugar . Always ensure that you start whisking egg whites on low to medium speed so that the bubble are all similar in sizes. Whisking the whites at an earlier stage on a high speed can creates air pockets that are too irregular sizes and this can cause the meringue to rise irregularly and the bigger air pocket will burst and collapse during baking.
Once the egg whites are foamed with no sign of watery whites present, gradually sprinkle in the sugar a little at a time. Adding the sugar a little at a time will allow the sugar to fully dissolve and if you add too much sugar too fast, the density of the sugar can weigh down the air pockets that you created at the beginning causing it to lose its volume. if sugar are not given enough time to whisked in the whites will cause residue of undissolved sugar. Undissolved sugar in the meringue will will in turn cause the pavlova to seep after they are baked, which is not ideal.
Bake low and slow
Depending on the thickness of your meringue sheet, baking time can vary. The best guideline is to bake it low and slow and check every now and then making sure that you do not open the oven door too early. I bake the pavlova at 150°C at fan force for around 40 minutes. The surface of the meringue should be slightly crispy and not brown all all over. If your meringue starts to brown too much, it is an indication that the oven temperature is too hot. I feel that with a slight toast on top of the meringue add a slight bitterness to offset the overall sweetness of the meringue. Therefore, slight browning is not entirely a bad thing. It is really all depending on your personal preference.
Old versus fresh egg whites
A lot of meringue recipes call for older egg whites because of the way it could whip up more in volume in a shorter amount of time. Although fresh egg whites are denser and do not whisk up as much in volume and takes longer to whisk, it is however more stable than older egg whites. If you are making meringue for the volume, older egg whites are always recommended but if you are looking for stability, fresher egg whites is the one to choose.
For this pavlova, I used a 2 day old egg whites left out at room temperature and the result did not disappoint. If you are planning to make pavlova that you are piling up high like a dome rather than for a roulade, it is recommended to use fresh egg whites for stronger stability.
Do I add sugar in my cream filling?
Yes, I do. It really depends on the type of fruits that you are using. If you are using berries that are on the sour side or kiwis and pineapples, a little more sugar would not hurt.
RECIPE
Makes 1 x roulade
Silicone Mat: 280 mm Length x 250 mm Width x 13mm depth
Pavlova
120 g Egg Whites - Room temperature
220 g Castor Sugar
1/2 tsp Cream of Tartar
5 g Corn Flour
Filling
150 g Thickened cream 35% fat
15 g Icing Sugar
30 g Diced unwashed strawberries
Qs. Seasonal fruits for the toppings
Method
For the Pavlova
1. Pre heat the oven to 150°C
Place the egg whites and cream of tartar into a clean mixer bowl fitted with a whisk attachment. Whisk the egg whites on medium speed until frothy and there are no watery egg whites left in the bowl.
2. Gradually sprinkle in the castor sugar while the egg whites are still whisking in multiple additions. Once all the sugar have been incorporated, increase the speed of the mixer to high and continue to whisk until it reaches stiff peak.
3. Add in the sifted corn flour and whisk until just combined.
4. Transfer the meringue and spread them out evenly on to (250mm x 280mm x 15mm) silicone mat that is sitting on a baking tray.
Note: If you do now have the silicone baking mat, simply spray a deep baking pan with oil and line with non stick parchment paper and spread the meringue on top of the parchment paper. It is perfectly fine if the tray is slightly larger than the mat that I use, it will just mean you have a slightly thinner pavlova sheet. Do not spread too thin though as it has a high tendency of being over baked.
5. Place the meringue sheets in to the pre heated oven and bake for 35 to 40 minutes placing the meringue at the bottom deck of the oven or until the top feels crisp.
Note: If you are using a different sheet pan, baking time can differ. If you are baking two sheets, ensure that you rotate the trays half way through baking.
6. Once the pavlova is ready, remove the tray from the oven and sprinkle the top generously with some castor sugar. Place a clean sheet of baking paper on top and flip the pavlova upside down. You can place a parchment paper on top and then a tray to help with the flipping.
Very carefully release the silicone mat/baking paper. The crispy side of the pavlova is now at the base. Leave the pavlova to cool slightly while you proceed to preparing the cream. The cooling process do not take long at all.
Note: Alternatively, if you do not want to make a big mess you can sprinkle some sugar on to a clean parchment paper and flip the pavlova on top of it. If after you have removed the mat baking paper from the pavlova sheet and you are planning to leave it out for it while, with the parchment paper on top and bottom, roll the pavlova into a log before hand when the pavlova have cooled slightly. This will prevent it from drying out too much. Although it is recommended to roll the roulade as soon as it cools for best result.
For the filling
Place the cold cream, vanilla bean paste and sifted icing sugar into a clean stand mixer bowl fitted with a whisk attachment. Whisk until it thickened in to a spreadable consistency. Store in the fridge until ready to use.
Finishing
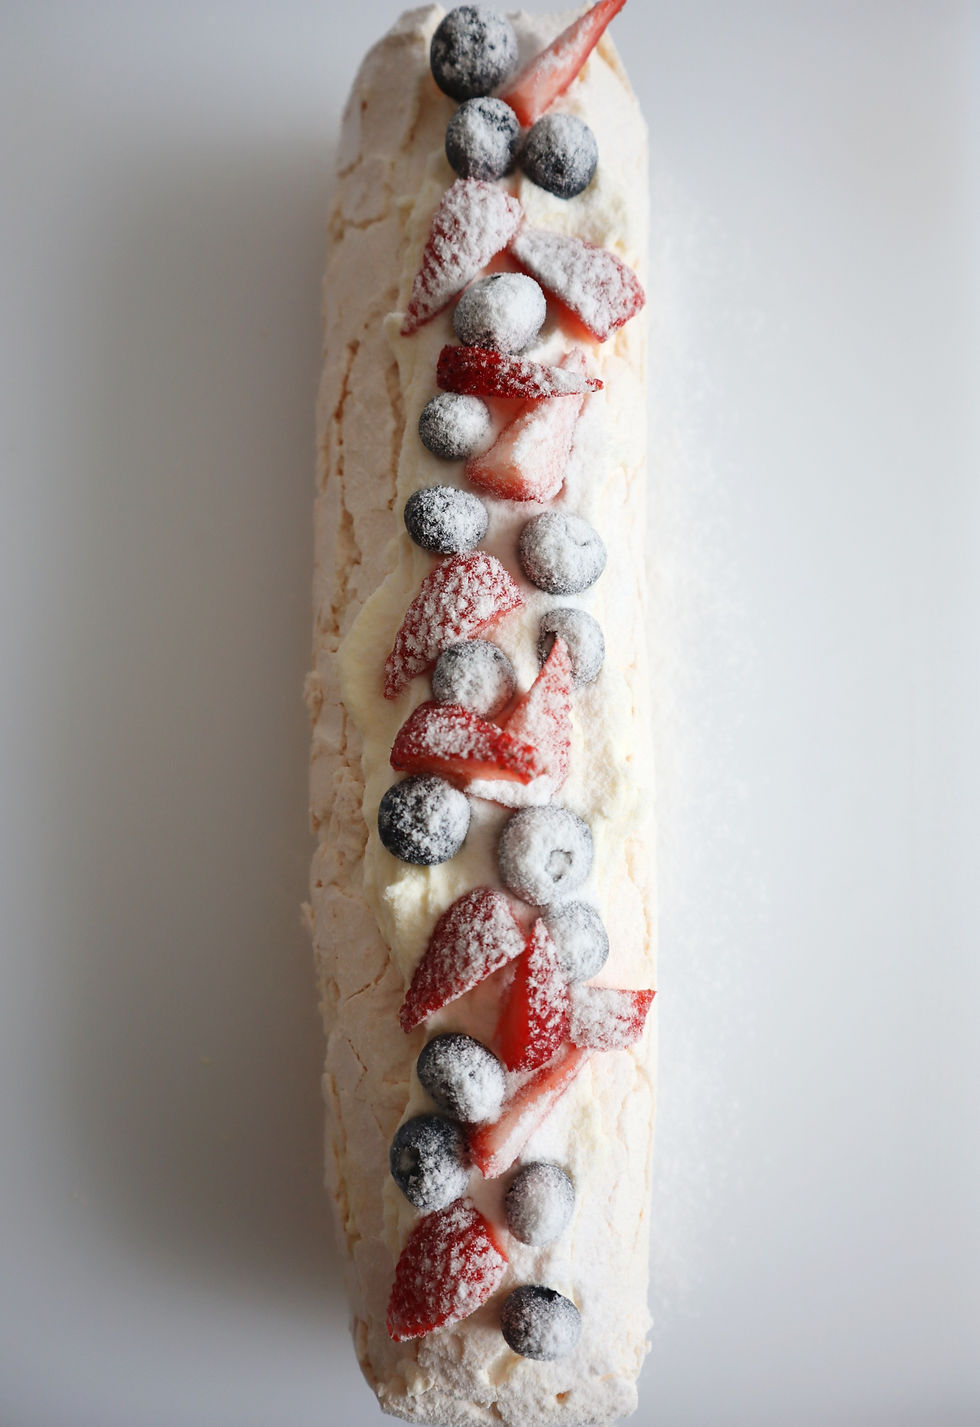
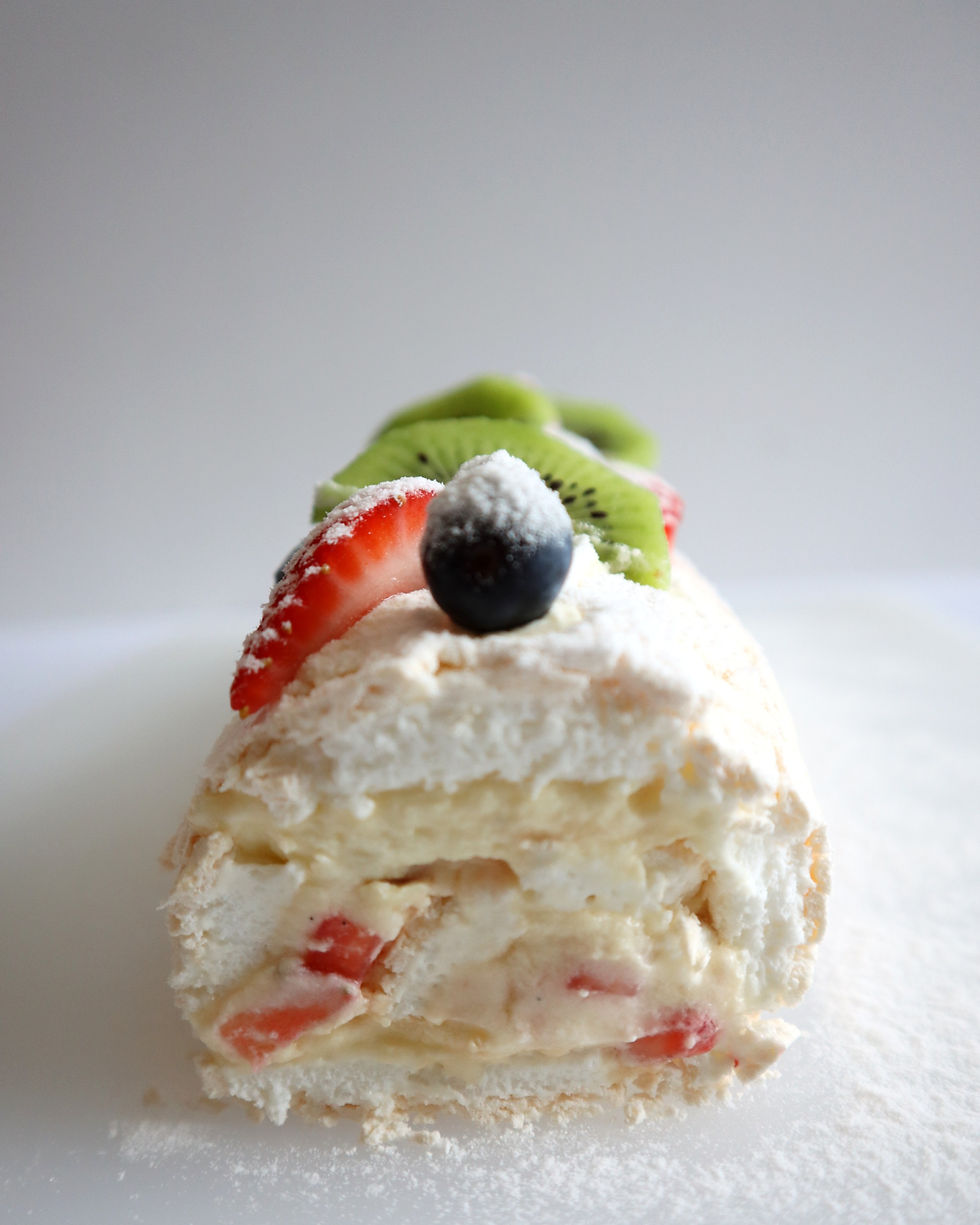
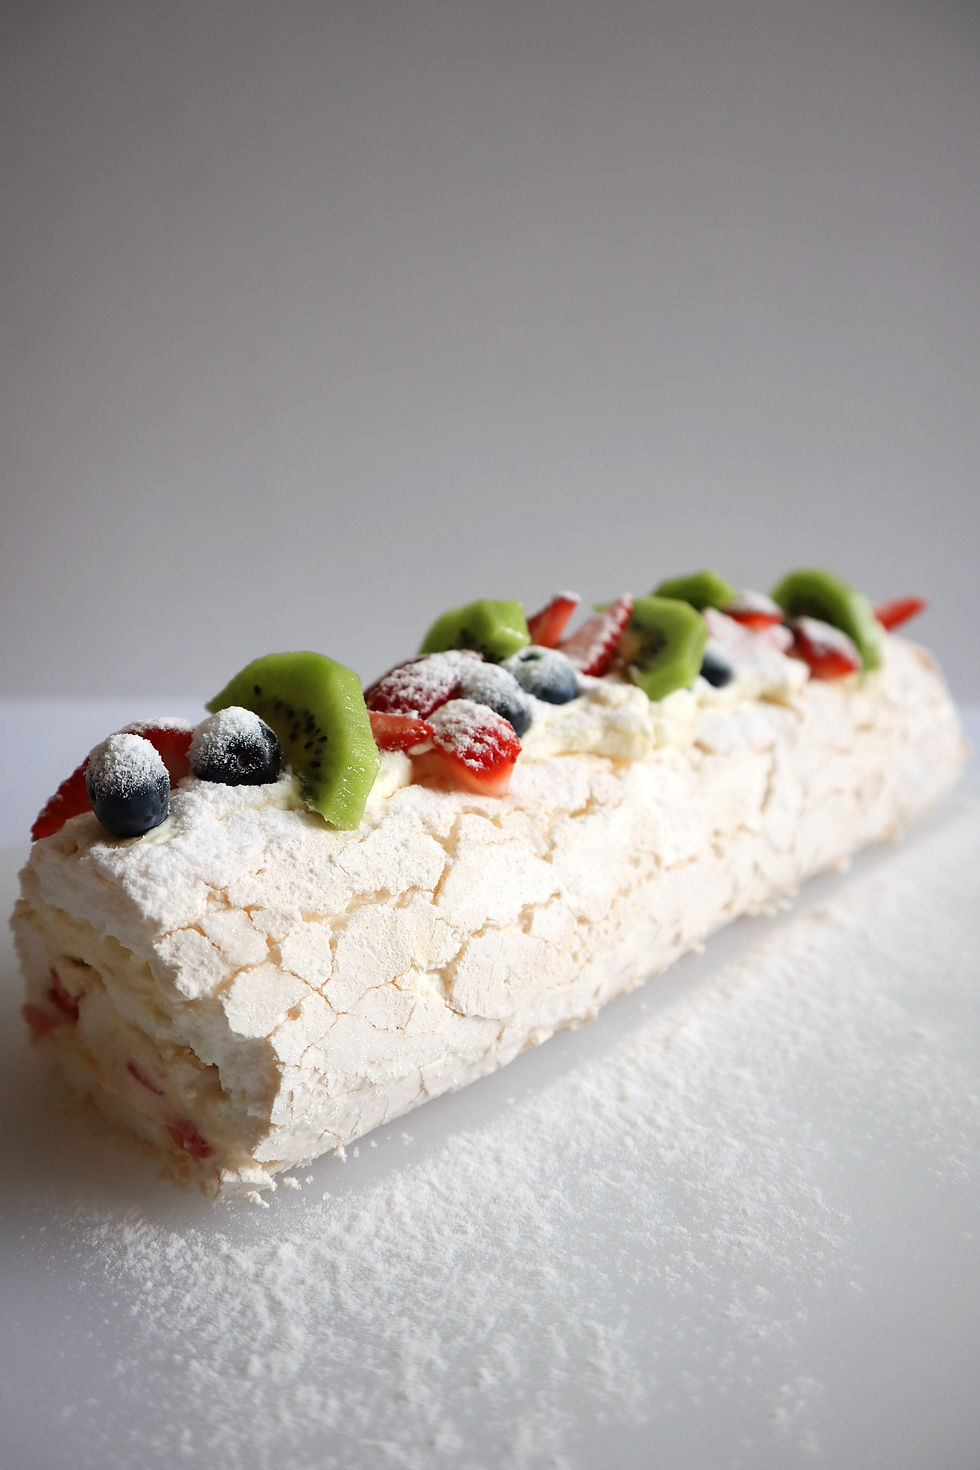
Once the pavlova have cooled, spread the whipped cream 2/3 of the way lengthways on top of the cooled pavlova sheet with the 1/3 of the non-spread part at the top. Roll the pavlova sheet from the cream side (closest to you) away from you and form it in to a log with the help of the parchment paper underneath.


Comments